Showing posts with label makeovers/projects. Show all posts

Thursday, April 2, 2015

"Anthro-Worthy Eggs"

 
So, I got this Pottery Barn magazine with these totally gorgeous beaded Easter eggs on the cover and I thought, I can totally make those. Or at least try. It seemed like something that could be fun to do with the boys. So on a rainy Friday I took my three boys to a craft store in town on a hunt for wooden Easter eggs and a few pretty things to embellish them with. The actual craft store shopping experience was not the most pleasant, and I thought we might not be able to make our purchases before we got kicked out for rambunctious behavior, but we made it. My sister in law came over to make eggs with us, and she is the one who decided that they were "anthro-worthy." I have to agree. They did come out super cute. I know there's only a few days left before Easter, but just in case you want to make some of these cuties yourself I'll tell you what we used.
 
-Wooden Eggs in various sizes
-Pastel paint colors (pink, teal, green, yellow, purple... if you don't have the exact shade you want mix some white with your colors to make them look more spring-like)
-small paint brushes
-gold & silver glitter
-gold & silver sequins
-ribbon
-beads
-glue (Elmer's and hot glue)
 
 
Drew an Isaiah had fun painting their eggs and then sprinkling the  glitter over them, and those simple ones came out adorable. I used elmers glue to add sequins and beads in striped patterns to some, and hot glued ribbon around others. 

For our tiniest eggs I made a twine bird nest for the boys to keep them in just by hot gluing it around and around into the shape of a next. We added a little bird clip to it. It's super cute too I just don't have a photo of it to show you. It's Drew's favorite. (Jaden tries to steal the eggs out of the nest all the time)
 
I filled a wooden bowl with some moss and set my eggs in that and have them on my end table in our living room. I love the soft spring addition of color and texture they are. My favorite thing about them is that they are so sturdy since they are wooden and I will be able to re-use them each year.
 
Happy egg making!! 


Tuesday, February 17, 2015

Valentines 2015

The day before Valentines we made our decorations. Last year we hung paper hearts on the wall, this year I have other things hanging in that spot, but Drew still wanted to cut out paper hearts and decorate with them. So I thought about hanging them from the ceiling... then thought what about a heart mobile or chandelier... which led to the idea of using embroidery hoops, ribbons and paper hearts, which led to this adorableness :) A very in-expensive project (embroidery hoops are a dollar something each) and it can be customized for anything... you could make a mobile for a nursery, other holidays, change the colors or shapes you hang from it and it can be used as a cute addition to just about any party. We just hung it from the ceiling using scotch tape because it's so light weight. The boys had so much fun helping to make this too :) 

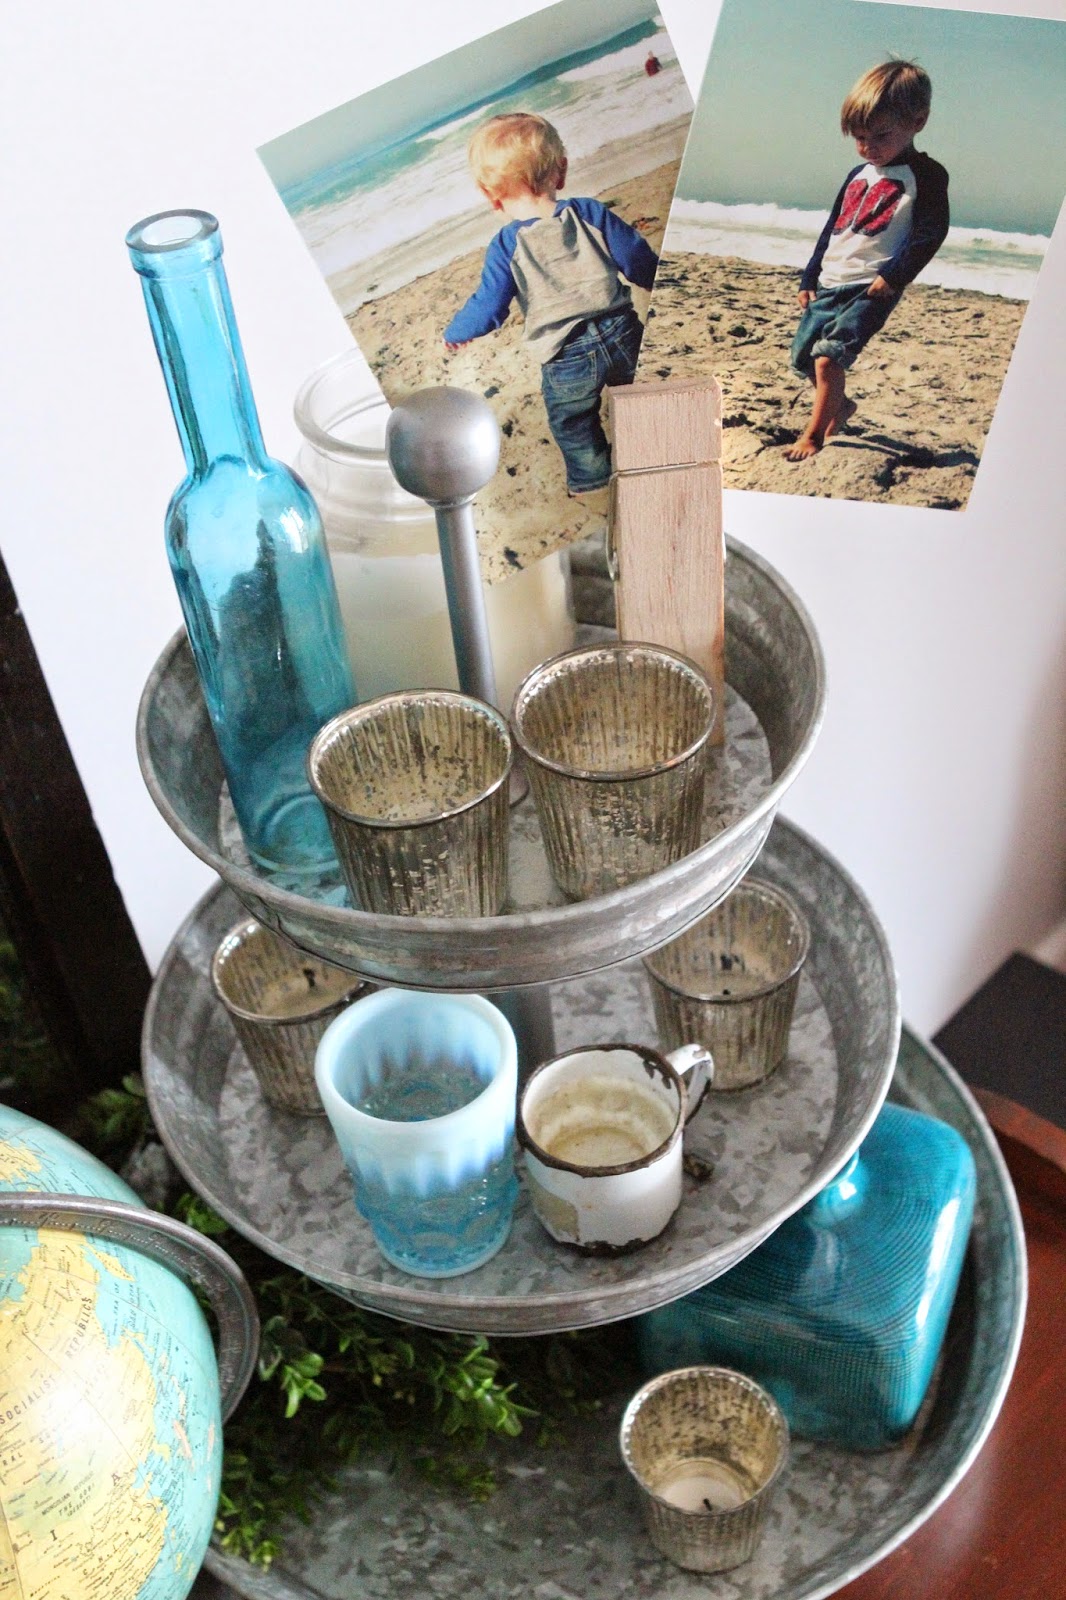
 We had a tea party lunch this year. I love the idea of a high-tea, and my three tiered stand was perfect for the occasion :)
One story about our day... Drew remembered that in years passed I have gotten them all heart balloons. About two weeks ago he started talking about heart balloons every day. And when he gets excited about something he starts drawing it and cutting it out and carrying the drawings around with him everywhere. Thousands of little heart balloons have been drawn with great care, cut out just so, taped back together if he accidentally snipped into it while cutting, sat on his bed side table at night so they could be near him while he was sleeping, carried in his backpack to school, taken to his grandparents to show them... he made one for everyone in the family and wrote their names on the back, he cut out big ones and small ones and some with short strings and some with long strings... the heart balloons were driving me mad, because they were all over the floor, the counters, the buffet, the table... but it was adorable so I tried not to get annoyed. ;) Then finally, Valentines was here, I made a special trip to the store to get our lunch supplies and pick up three balloons for my boys. When we had been at the store the previous week Drew saw that there was one heart balloon that was bigger than all the rest and said that was the one he wanted. I told him I was probably going to get him a normal sized balloon, but then when I went to get them I decided to surprise him with the biggest one. He was ecstatic. He ran all around the house with it, and pointed out all the sharp corners to Isaiah and advised him to be careful lest his balloon touch a sharp corner and be popped... Then while Drew was upstairs playing with his balloon, and I was in the kitchen making our lunch, all of the sudden there was a loud POP. And then there was Drew, walking slowly down the stairs, his lip quivering, his balloon dragging on the ground, and then came the torrent of tears as he begged me to go back to the store to get him another one and I told him I couldn't do that. Isaiah made me so proud, because as soon as it happened he told Drew that he could have his balloon. And then Drew made me so proud too, because I took him to his room, held him, and gently explained to him that he could let the popped balloon ruin his day or he could think of all the other good things that were happening and that he could be thankful for and he could make the choice to be happy anyway. And although it took every ounce of his will-power, he stopped crying and he made the choice to be happy anyway. We got out tape and we taped his giant balloon to the wall (it looked much less sad that way than when it was lying on the floor in a shiny popped pile). And so that is the story of the giant heart decoration you see hanging on the wall behind them. 
Our menu: 
fruit cup (watermelon, strawberries, raspberries and red grapes)
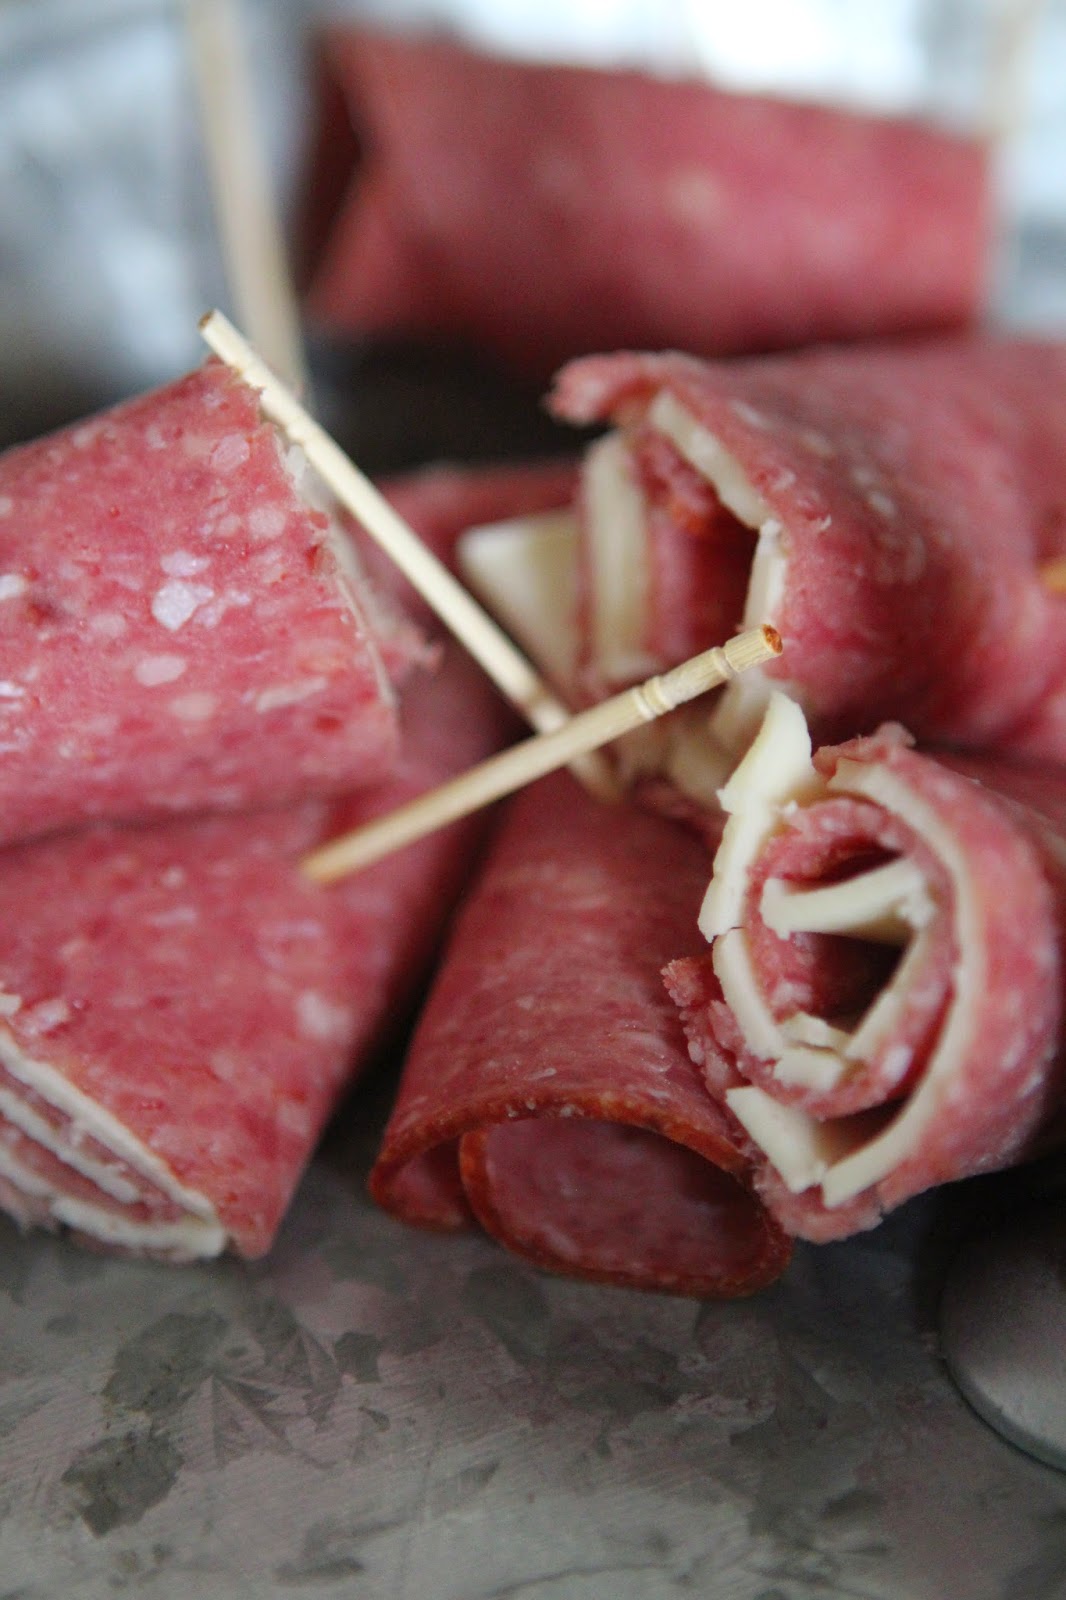
Sweet bologna & cheese rolls
Pretzels with strawberry cream cheese
chips
Hot tea

It was ADORABLE watching my boys drink hot tea for the first time. I got out my china tea cups, taught them how to let the tea bag steep, we used tiny cream pitchers and sugar bowls, they stirred so carefully and they sipped so cutely. The elephant cream pitcher was Drew's favorite and the photo below is my favorite. 
Jaden didn't get his own china tea cup this time, but he happily stuffed his face with fruit and pretzels and cream cheese and generally just made a pink and red mess. :) 

Everybody Sipping :) 

I love my boys so much, so thankful that even though I don't have girls we can still have a tea party :) I hope they are romantic men to their wives some day and know how to always make her feel special and celebrate love. :) 
The moose head was their valentines gift from us, Drew has been asking for a moose head to hang on the wall for awhile and was thrilled with that surprise. :) 

That night we had a candle light dinner of roast chicken with carrots//potatoes//onions and green beans and apple sauce. We used heart plates which were super special to the boys and easier clean up for me. Win-win. The pretty roses on the table were delivered in the afternoon from my dad :) 


I love celebrating love. After all that celebrating as a family Shaun and I put the boys to bed early and had our own Valentines celebration. It was such a beautiful Saturday together, making life at home special and memorable. 

xoxo


Thursday, January 29, 2015

Kitchen Makeover!

I love white cabinets. Always have, always will. When we moved in over four years ago I knew that someday I wanted to paint our kitchen cabinets. The couple who lived here before us kept everything in great condition, but their style was definitely very country, while I like a cottage meets farmhouse meets slightly modern feel. I struggled for a while because, you know, to some people painting perfectly good wood is ridiculous. Then I struggled because everyone in the world paints their cabinets themselves, but I read a million different tutorials and was scared of messing up, cause to me cabinets are a big deal (and I also dreaded the several weeks of chaotic kitchen until the project would be done.) And then finally I realized- a.) I am not one of those people who thinks painting wood is ridiculous, and this is my house and b.) i didn't HAVE to be some diy super hero and do it myself, I could hire someone who knows what they are doing and could do it in two days. (Thank you Stephanie for that revolutionary idea!) 
Although painting the cabinets was my top priority, different lighting was Shaun's, so we did that first. We chose the light fixtures ourselves and a good friend of ours who is a construction genius put in recessed lighting and changed out our fixtures for us in October. Then everything went on pause until after my siblings weddings and Christmas, and in the beautiful space of January we started back up again. First I painted the walls gray, and then we booked Wagner Painting for the end of the month. 
And now, it is finished! 
(If you don't count the fact that depending on how long we live here I'd love to add a white subway tile backsplash, change the perimeter counters to black soap stone and install a thick butcher block counter top on the island... but dreaming and having a vision are just as much fun as the finished product, and if you know me you know I'm always dreaming... so I have no idea if we will ever do those things or not, because I am so content with where we are at now!)

Because I am a huge fan of before and afters, here are several different looks at the "befores" and the "afters" of different angles of our kitchen. (disclaimer: in this first set of before and afters there is one thing I like better about the "before"... and that is the baby in the bouncy seat tucked into the pack and play... Shaun said I should have Jaden standing in the same spot in the "after"... that would've been a great idea. It's not too late, maybe I'll still take one like that) 
Before:
 After:
Before:
 After:

Before:
 After:
(This next one is after the lighting, but before any painting)
Before Painting:
 After Painting:

Now for some during shots (only two of these, while the primer was going on): 

And some more after photos of the little details :) 


Tips: 

Use a glossy paint for your cabinets. It looks more high quality and is also much easier to wipe down should something splatter. (I've already had some "splatters"... life with three boys ;) ) 
The process our painters used on the cabinets was sanding, priming, and two coats of high quality paint. They didn't take the doors off to spray them, just hand painted them, but if you want an even smoother finish you could remove them from the hinges and spray them. 
(If I think of anything else I'll try to come back and add it) 


Sources: 

Light Fixtures: Lowe's & Home Depot
Wall Paint Color: Gentle Rain (I believe by Behr. We have this color in our basement family room too and love it so much)
Trim and Cabinet Paint Color: Snow Cap Mountain (I believe by Valspar, such a fresh, beautiful white)
Fruit Bowl & Utensil Jar: Target
Plants and Gray clay planter: Terrain
Ring holder: HomeGoods
Blue dish towel: Anthropologie (Christmas gift from my bestie)
Black clock: Target (Christmas gift from my sister in law) 
Heirloom Vegetable Calendar: Anthropologie (bridesmaid gift from my sister) 
Secretary Desk: Gift from my grandmother, hardware switched by me
Vintage Camera: Belonged to my grandparents
Mercury glass vase: A florist in Strasburg
Cream pillar candle holder: Good's Store (gift from my mom)
Blue dinosaur artwork: Original by Drew :) 
Chalkboard: Pottery Barn Outlet several years ago (Bought with Christmas money from my mommom)
Berkey Water Filtration System: Me and Shaun's Christmas gift to each other this year... THE BEST WATER EVER.
Vintage Scale: Antique shop in Strasburg
Galvanized metal three tiered tray: Pottery Barn outlet
Vintage globe: Fresh Vintage by Amy in Strasburg (gift from my mom for Christmas)
Blue deviled egg dish: Found in my husband's great aunt's home when she was down-sizing
Blue butter dish: Anthropologie
Wood wick candle: Yankee candle (christmas gift from my sister-in-law last year)
Photo frame tray: Not sure where it was from, but it was a gift from my other sister-in-law a few years ago
Silver Tea Service: Flea market find when I was in middle school... bought for me by my dad
Dried boxwood: cut from my husband's parents' farm, by his grandparents' farmhouse. 


If you have questions about anything else or where it's from, just leave a comment. I know there are things I missed in this list. It is so fun to look around at everything and see how many things have been given to us over the years of our marriage. There is nothing I love more than the "collected" feel of a home... the story it tells of your time together, the people you love who have contributed, and the journey you've been on. Clearly my family and friends are wonderful gift givers, they know us so well and have blessed us in so many ways. I am so thankful for our home, for the process of making it ours, for the many memories and meals and moments that have taken place within these walls... 
Here's to a beautiful combination of fresh vision, and continued contentedness, and the many memories that will be made along the way.

xoxo